Commissioning a Raymond mill is a critical process that ensures the equipment operates efficiently, safely, and meets production requirements. Proper commissioning lays the foundation for long-term performance, reduces downtime, and extends the mill’s service life. Below is a step-by-step guide to help you navigate the commissioning process effectively.
1. Pre-Commissioning Preparation
Before starting the actual commissioning, thorough preparation is essential to avoid delays or errors.
a. Equipment Inspection
- Structural Check: Verify that the Raymond mill is correctly installed according to the manufacturer’s specifications. Check the foundation for stability, ensuring all anchor bolts are tightened to the required torque.
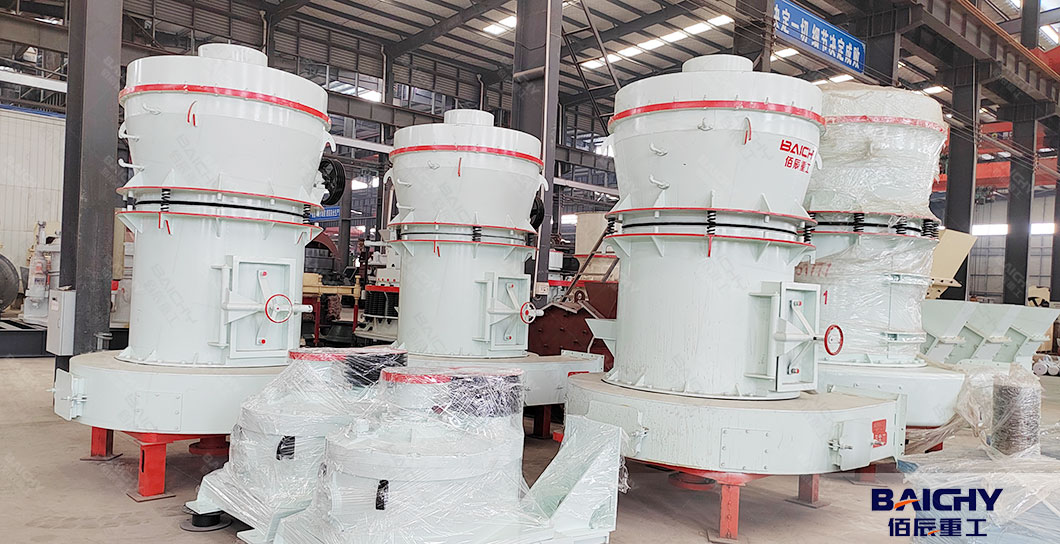
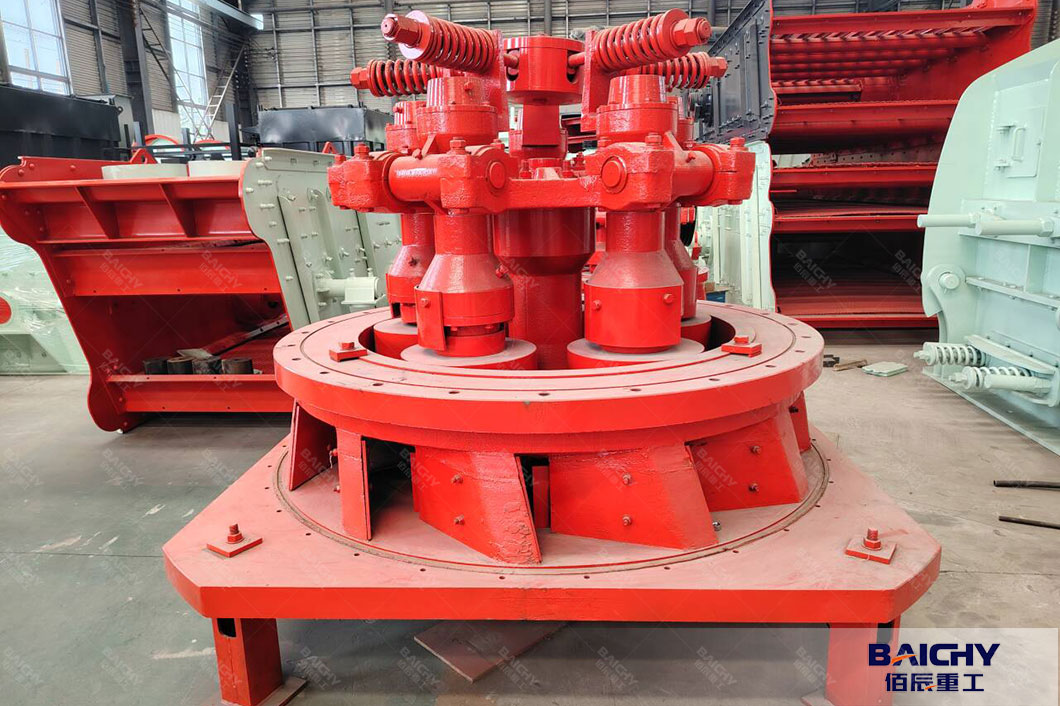
- Component Verification: Inspect key components, including the grinding roller, grinding ring, blower, analyzer, feeding device, and discharge system. Ensure no parts are damaged, loose, or missing (e.g., bolts, gaskets, or safety guards).
- Lubrication System: Confirm that all bearings and moving parts are properly lubricated with the recommended oil type and quantity. Check for leaks in the lubrication lines.
- Electrical System: Inspect wiring connections, control panels, and safety devices (e.g., emergency stop buttons, overload protectors). Ensure the power supply matches the mill’s voltage and frequency requirements.
b. Safety Measures
- Install safety signage (e.g., “No Entry During Operation,” “Wear PPE”) around the mill.
- Ensure operators and technicians are trained in emergency procedures, including how to stop the mill quickly in case of a malfunction.
- Clear the work area of debris, tools, or unrelated materials to prevent accidents.
c. Raw Material and Auxiliary Supplies
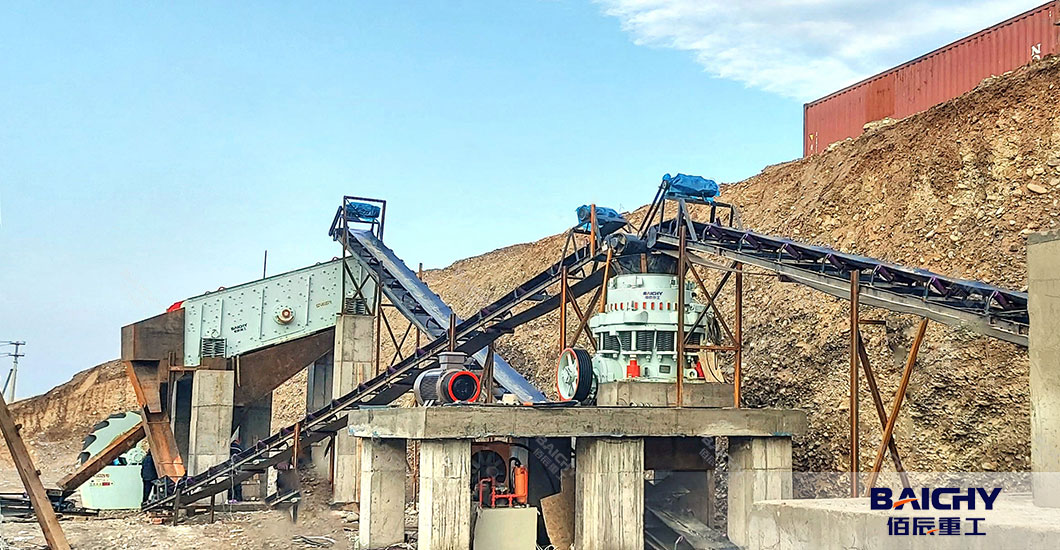
- Prepare the raw material (e.g., limestone, gypsum, or coal) with the correct particle size (typically ≤30mm) to avoid overloading the mill.
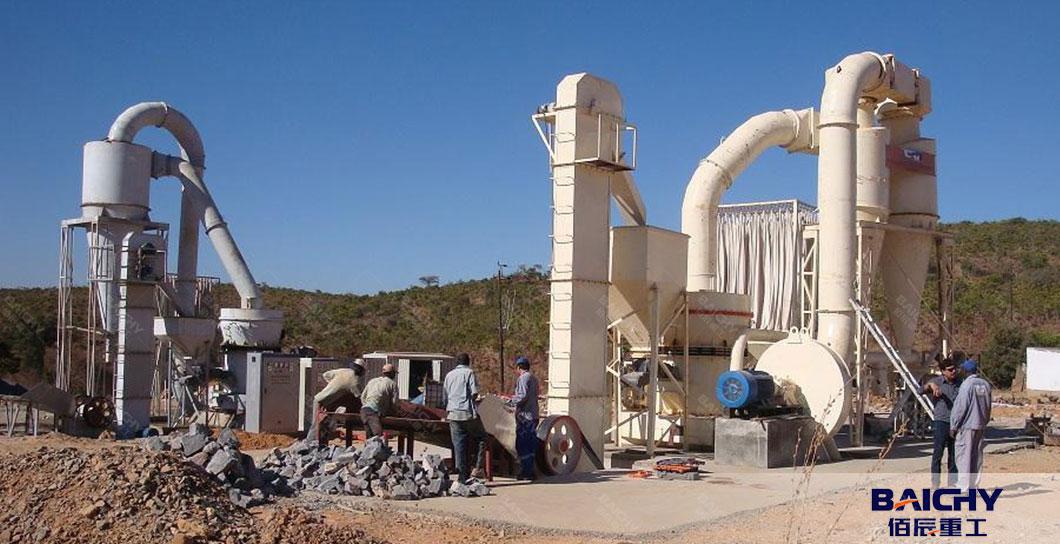
- Ensure auxiliary equipment (e.g., conveyors, dust collectors, and storage silos) is installed and functional, as they are integral to the mill’s operation.
2. Trial Run: Step-by-Step Commissioning
The trial run is divided into no-load testing (without raw materials) and load testing (with materials) to validate each system’s performance.
a. No-Load Trial Run
This step checks the functionality of mechanical and electrical systems without material input.
1. Start Auxiliary Equipment First:
- Turn on the dust collector to ensure proper ventilation and reduce dust emissions.
- Start the blower to establish airflow in the mill. Monitor the air pressure to ensure it meets the manufacturer’s guidelines.
2. Start the Main Mill:
- Turn on the main motor and let the mill run at idle speed (typically 10–15 minutes). Listen for abnormal noises (e.g., grinding, knocking) which may indicate misalignment or loose parts.
- Check the rotation direction of the grinding roller and blower to ensure they match the manufacturer’s specifications (reversing direction can damage components).
3. Test the Feeding and Discharge Systems:
- Run the feeding device (e.g., vibrating feeder) to ensure it operates smoothly and adjusts correctly (e.g., variable speed settings).
- Verify that the discharge conveyor or screw feeder functions properly, with no blockages.
4. Check Instrumentation and Controls:
- Calibrate sensors (e.g., temperature, pressure, and current monitors) to ensure accurate readings.
- Test the control panel’s functions, including start/stop buttons, emergency stops, and alarm systems (e.g., high temperature or overload alarms should trigger correctly).
b. Load Trial Run
After successful no-load testing, proceed to load testing to evaluate performance under actual operating conditions.
1. Gradual Material Feeding:
- Start with a low feed rate (30–50% of the designed capacity) to avoid overloading. Gradually increase the feed rate while monitoring the mill’s response.
- Ensure the raw material is evenly distributed into the grinding chamber to prevent uneven wear on the roller and ring.
2. Monitor Key Parameters:
- Product Fineness: Use a sieve analyzer to check if the output material meets the required particle size (Raymond mills typically produce 80–325 mesh products). Adjust the analyzer’s speed to fine-tune fineness (higher speed = finer particles).
- Temperature: Track the temperature of bearings and the grinding chamber. Temperatures should stay within the manufacturer’s limits (usually ≤60°C for bearings). Overheating may indicate poor lubrication or excessive friction.
- Vibration and Noise: Excessive vibration could signal unbalanced components or misalignment. Investigate and resolve issues immediately.
- Power Consumption: Ensure the motor’s current stays within the rated range. Spikes in current may indicate overloading or blockages.
3. Test Dust Collection Efficiency:
- Check the dust collector’s performance to ensure emissions are within environmental standards. Clean or replace filters if necessary to maintain suction power.
4. Run Continuously for a Test Period:
- Operate the mill at full load for 8–24 hours to simulate long-term operation. This helps identify issues like component fatigue, lubrication degradation, or minor leaks that may not appear during short runs.
3. Post-Commissioning Adjustments and Documentation
a. Fine-Tuning
- Adjust the feed rate, analyzer speed, or air volume based on load test results to optimize productivity and product quality.
- Tighten any loose bolts or connections identified during testing.
- Replace worn parts (e.g., grinding rollers, rings) if they show excessive wear during initial operation.
b. Documentation
- Record all test data, including parameters like feed rate, product fineness, temperature, and power consumption.
- Document any issues encountered, their causes, and solutions implemented.
- Create an operation manual specific to your mill, including maintenance schedules, safety protocols, and troubleshooting guides.
c. Operator Training
- Train operators on proper startup/shutdown procedures, parameter adjustment, and basic maintenance (e.g., lubrication, filter replacement).
- Ensure they understand how to interpret alarms and respond to emergencies.
Key Tips for Successful Commissioning
- Follow Manufacturer Guidelines: Always refer to the Raymond mill’s operation manual for specific commissioning steps, as procedures may vary by model.
- Collaborate with Experts: Involve technicians from the manufacturer or experienced engineers to oversee critical stages, especially if it’s your first commissioning.
- Prioritize Safety: Never bypass safety devices or rush through steps—errors during commissioning can lead to accidents or long-term equipment damage.
By following these steps, you can ensure your Raymond mill is commissioned correctly, delivering reliable performance and maximizing your return on investment. Proper commissioning not only ensures efficient operation but also minimizes future maintenance costs and downtime.


 2026-07-17


 86-15093113821
 86-15093113821
